
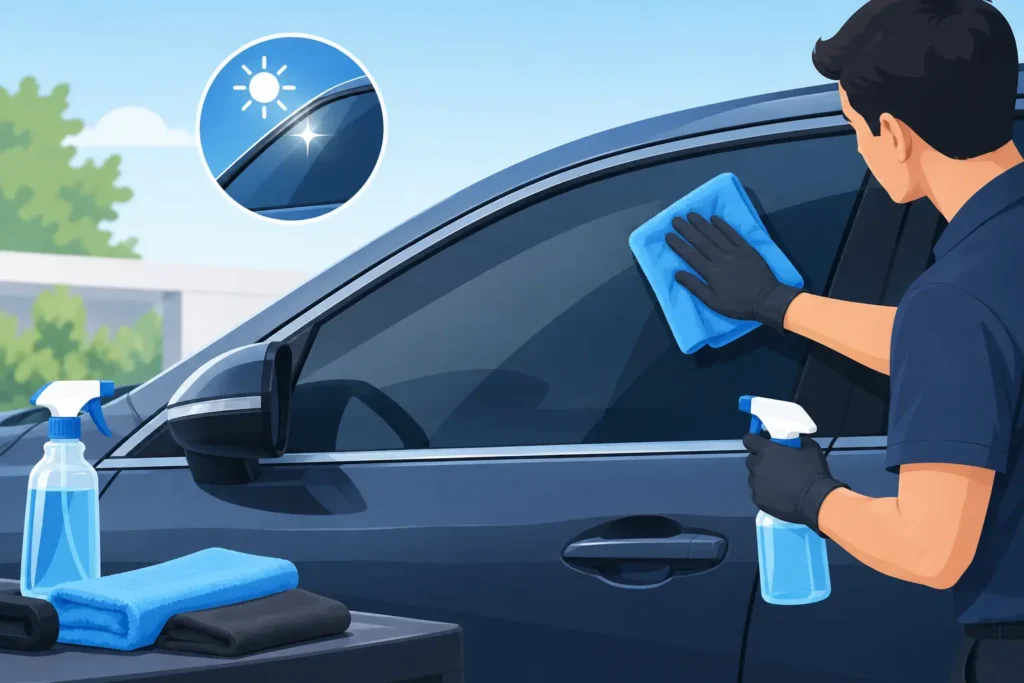
Freshly cleaned glass should make a vehicle feel sharper, brighter, and easier to drive. But knowing how to clean tinted car windows properly matters because window film is not bare glass. The wrong cleaner, cloth, or technique can leave scratches, cloudy residue, lifted edges, or a dull finish that takes away from the look and performance of premium tint.
The good news is that tinted windows are straightforward to maintain. With a gentle, ammonia-free cleaner and a quality microfiber cloth, you can keep the film looking clear while protecting the privacy, heat reduction, and UV protection it provides.
How to Clean Tinted Car Windows Safely
Start with the right products. The most reliable option is an ammonia-free glass cleaner clearly marked as safe for tinted windows. You can also use a mild solution of water with a small amount of gentle dish soap. Avoid harsh chemicals, abrasive powders, and cleaners that promise aggressive grease-cutting performance.
Ammonia is the main ingredient to avoid. It can gradually dry out and discolor window film, particularly on older tint. Strong solvent-based cleaners can also affect the film’s adhesive layer and edges. Even if damage does not appear after one use, repeated cleaning with the wrong product can shorten the life of an otherwise high-quality installation.
Park in a shaded area or clean the vehicle when the glass is cool. Direct sun causes cleaner to evaporate too quickly, often leaving streaks and residue behind. A cool surface gives you time to wipe evenly and inspect the result before the product dries.
Spray your cleaner onto a clean microfiber cloth rather than directly onto the window, especially around the lower edge of a roll-down window. This helps prevent excess liquid from pooling near the film edges, seals, switches, and door trim. Wipe in controlled, overlapping strokes with light pressure, then use a second dry microfiber cloth to buff away remaining moisture.
For the interior side of the window, work gently. Film is installed on the inside of automotive glass, so this is the surface that needs extra care. The exterior glass can usually be cleaned with your normal car-safe glass cleaner, although using the same ammonia-free product on both sides keeps the process simple and reduces the risk of mistakes.
What to Use on Tinted Windows
A soft, clean microfiber cloth is the best everyday tool for tinted car windows. Microfiber lifts light dust, fingerprints, and road-film residue without the rough texture of paper towels or old rags. Keep separate cloths for glass and paintwork so that grit, wax, or polish residue does not transfer to the windows.
For most vehicles, you only need an ammonia-free cleaner, two microfiber cloths, and clean water. One cloth applies and lifts dirt; the other dries and polishes the surface. If a window has stubborn marks, such as a child’s fingerprints or residue from a suction-mounted accessory, hold a damp microfiber cloth against the area for a few seconds before wiping. Letting moisture soften the residue is safer than scrubbing harder.
A soft rubber squeegee can be useful on large rear windows, but only if it is exceptionally clean and designed for delicate glass. A small piece of trapped grit can drag across the film and create fine scratches. For most drivers, microfiber is the safer and more practical choice.
Cleaners and Tools to Avoid
Tinted glass does not require complicated maintenance, but a few common cleaning habits create unnecessary risk. Avoid using the following on the interior tinted surface:
- Ammonia-based glass cleaners
- Paper towels, newspaper, or rough shop towels
- Scouring pads, brushes, or abrasive sponges
- Razor blades, scrapers, and metal-edged tools
- Strong degreasers, acetone, bleach, or solvent cleaners
Paper towels can seem harmless, but their fibers are rougher than microfiber and may leave lint or fine marks over time. Newspaper is equally unsuitable. It was once a popular glass-cleaning shortcut, yet ink transfer and friction are poor trade-offs for a modern tinted finish.
Razor blades deserve special attention. They are sometimes used on bare exterior glass to remove stickers or stubborn residue, but they should never be used on tint film. A blade can score the film instantly or catch an edge and cause it to lift. If adhesive residue is present on the interior, use a tint-safe adhesive remover sparingly on a microfiber cloth, test a hidden corner first, and avoid saturating the edges.
A Simple Routine for Clear, Streak-Free Results
For regular cleaning, lightly wipe dust from the glass first. This step matters more than many people realize. If you spray and wipe a dusty window immediately, small particles can drag across the film.
Next, mist an ammonia-free cleaner onto your microfiber cloth. Wipe the window from top to bottom using straight, overlapping passes. Circular rubbing is not always harmful, but straight strokes make it easier to see where streaks or missed sections remain.
Use a second dry microfiber cloth to finish the glass. Buff gently, paying attention to the corners and around the defroster lines on the rear window. Do not press hard over rear defroster lines, as aggressive rubbing can damage them over time. If you notice streaking, it is usually caused by too much cleaner, a saturated cloth, or cleaning in warm sunlight. Switch to a dry cloth and use less product on the next pass.
Cleaning the windows every two to four weeks is usually enough for a daily-driven vehicle. Cars parked outdoors, driven near the coast, or used frequently by families may need more regular attention. Sydney drivers also contend with salt air, dust, and strong sun, all of which make clean glass more noticeable and regular care worthwhile.
Caring for Newly Tinted Windows
Newly installed tint needs time to cure. During this period, moisture trapped between the film and glass gradually evaporates. It is normal to see a slight haze, small water pockets, or a textured appearance while this happens. These signs generally clear as the film settles.
Do not clean the interior windows until your installer confirms that the curing period has passed. The timeframe depends on the film type, weather, and temperature. Warm conditions can speed things up, while cooler or humid weather may extend the process. Cleaning too soon can disturb the film before the adhesive has fully bonded.
Once cured, avoid rolling down the windows with dirty seals. Dust and grit caught in the rubber window channels can mark the tint as the glass moves up and down. Wiping the seals occasionally with a clean, damp cloth helps protect the film and keeps the windows operating smoothly.
When Haze or Bubbles Need Professional Attention
Not every mark on tinted glass is a cleaning problem. A hazy layer may be residue from a cleaner, but it can also indicate aging film. Small bubbles that appear long after installation, purple discoloration, peeling corners, or a patchy finish can signal that the film is reaching the end of its service life.
Trying to polish away these issues with stronger chemicals will not solve them and can make the finish worse. Professional assessment is the better option, particularly when the tint still provides good coverage but has developed isolated defects. An experienced installer can identify whether the concern is surface contamination, a damaged defroster line, failing film, or an issue that calls for replacement.
Premium window film is designed to deliver lasting comfort, privacy, and a polished appearance, but its finish depends on sensible care. A gentle cleaner, clean microfiber cloths, and a little patience will keep your tinted windows clear without compromising the film underneath. When you treat the interior glass as a protected surface rather than ordinary glass, your vehicle continues to look its best every time you get behind the wheel.