
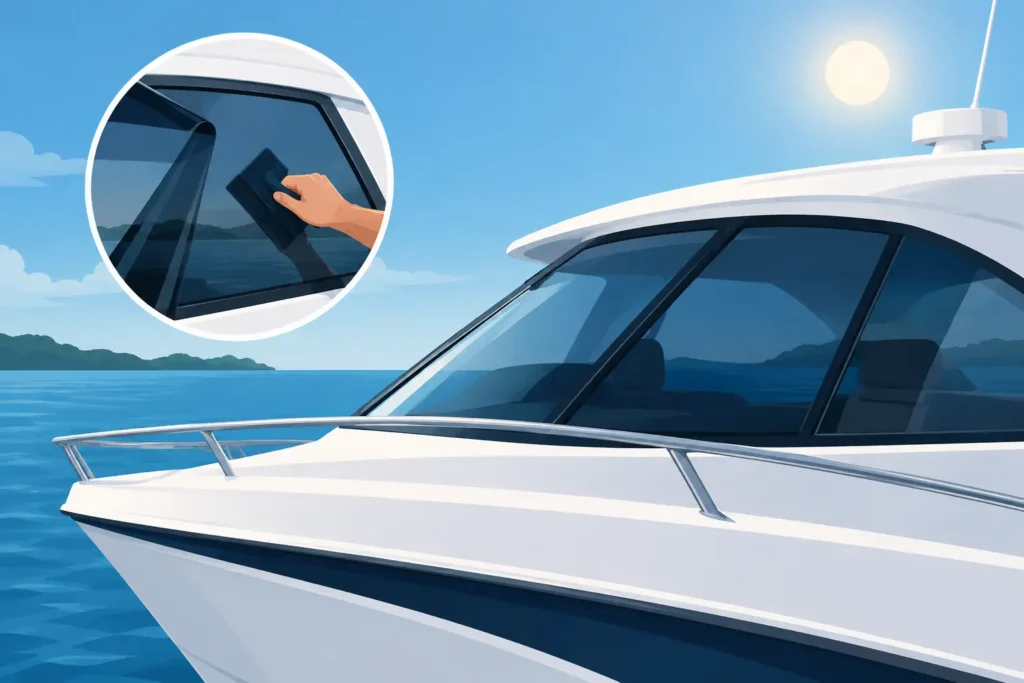
Boat windows can turn a sunny day on the water into an uncomfortable one fast. Heat builds in the cabin, glare makes screens harder to read, and constant UV exposure fades upholstery, flooring, and trim. Knowing how to tint boat windows helps you choose a film and installation method that improves comfort without compromising visibility, window material, or the clean appearance of your vessel.
For most boat owners, the best result comes from marine-grade window film professionally fitted to the inside of the glass or acrylic. The job may look similar to car tinting, but marine windows face salt spray, moisture, curved panels, vibration, and stronger reflected sunlight. Those conditions make material selection and careful preparation just as important as the tint itself.
Start With the Right Film for Boat Windows
Not every window film is designed for a marine environment. A low-cost automotive film may look acceptable at first, yet adhesive failure, bubbling, discoloration, or edge lifting can appear when it is exposed to heat, humidity, and regular cleaning around the water.
A quality marine film should provide strong UV rejection, heat reduction, and glare control while maintaining clear outward visibility. Premium films also use durable adhesives and color-stable construction, so they are less likely to turn purple or haze over time.
The right shade depends on how and where you use the boat. A lighter film can reduce glare and UV exposure while preserving a bright, open cabin. A medium shade often offers the best balance of comfort, privacy, and visibility. Darker films create a sleek exterior appearance and greater daytime privacy, but they can make docking, navigation, and moving around at dusk more difficult.
Ceramic and high-performance solar-control films are often a smart choice for boats with large windshields or cabin windows. They can reject a significant amount of solar heat without requiring the darkest possible tint. That means a cooler cabin and less strain on air conditioning, with safer visibility than an overly dark film.
Check What Your Boat Windows Are Made Of
Before tinting begins, identify whether the windows are glass, acrylic, polycarbonate, or another marine plastic. This is one of the most important steps in how to tint boat windows because films do not behave the same way on every surface.
Glass windows are generally the most straightforward to tint, provided they are in good condition and free from damage around the seals. Acrylic and polycarbonate windows require more care. Some plastics expand and contract in changing temperatures, release gases over time, or react poorly with certain adhesives. Applying an incompatible film can lead to bubbles, distortion, stress cracking, or a shortened film life.
Curved windshields and wraparound cabin panels also require experienced handling. Film needs to be shaped accurately before it is installed, with controlled heat and pressure. Trying to force film around a complex curve can leave creases, fingers at the edges, or optical distortion that becomes obvious once you are on the water.
If you are unsure what your windows are made from, check the vessel documentation or ask a marine professional. A tailored recommendation is far safer than selecting film based on shade alone.
Consider Visibility, Navigation, and Local Requirements
Tint should make boating more comfortable, not reduce your ability to operate safely. The windshield and forward-facing windows deserve particular attention because they affect your sightlines when navigating, approaching a berth, or watching for hazards.
A very dark film may be suitable for rear cabin glass or side windows used mainly for privacy, but it is not always appropriate for windows that need clear visibility in low light. Think about how often you boat near sunset, in poor weather, or at night. A film that looks great at midday can feel restrictive once light levels drop.
Requirements can also vary by vessel type, registration, and where the boat is operated. Before choosing a very dark shade, confirm any applicable rules and safety expectations. A professional installer can help you make a practical choice that supports both the look of the boat and confident operation.
How to Tint Boat Windows: The Installation Process
Professional installation follows a deliberate process. The goal is not simply to place film on glass. It is to create a clean, secure finish that performs well through changing conditions.
Inspect and measure every panel
Each window is checked for scratches, chips, seal issues, old adhesive residue, and difficult curves. Accurate measurements matter, especially where windows meet frames, rubber seals, latches, and vents. An installer will also assess whether any panels need a specialty film because of their material or position on the boat.
Deep-clean the glass or approved surface
Dust, salt residue, sunscreen, oils, and cleaning-product buildup can all interfere with adhesion. The surface is carefully cleaned with solutions suitable for the window material, then detailed around edges and seals. Even a small contaminant can become a visible speck beneath the finished film.
Cut and shape the film precisely
The film is sized to each individual pane rather than treated as a one-size-fits-all panel. On curved windows, the installer uses controlled heat to shrink and shape the film before application. This produces a close fit without unnecessary tension or distortion.
Apply, squeegee, and finish the edges
A slip solution allows the film to be positioned accurately, then moisture is worked out using professional tools. The installer pays close attention to edges, corners, and areas near frames, where poor preparation can lead to lifting. A premium installation should look smooth and intentional from both inside and outside the boat.
Allow time for curing
After installation, a slight haze or small water pockets can be normal while the film cures. Cure time depends on the film, weather, and window material. Avoid cleaning the tinted surface too soon, and follow the installer’s care instructions rather than judging the final finish on the first day.
Why DIY Boat Tinting Often Falls Short
DIY kits can be tempting, especially for a small cabin window. However, boats create conditions that leave very little room for error. Wind can carry dust onto the adhesive, limited workspace makes handling difficult, and curved or plastic panels can be challenging even for experienced installers.
The cost of a mistake may be more than replacing a roll of film. Removing poorly applied tint can be time-consuming, and aggressive scraping or harsh chemicals may damage acrylic windows, coatings, or surrounding seals. A film that fails early can also leave adhesive residue that requires careful removal.
Professional installation provides more than a cleaner finish. It gives you access to premium materials matched to your vessel, informed advice on tint shade and visibility, and a process designed for long-term performance. For boat owners who value appearance and protection, that is usually the better value over time.
Caring for Tinted Boat Windows
Once the film has fully cured, regular care is simple. Use a soft microfiber cloth and a mild, ammonia-free cleaner. Avoid abrasive pads, razor blades, and strong solvents, especially near film edges. Salt spray should be rinsed away regularly rather than allowed to dry on the windows.
Be mindful of hard objects stored near cabin glass. Fishing gear, metal buckles, and loose equipment can scratch film just as easily as they can mark an untreated window. If an edge begins to lift or a panel is damaged, have it assessed early. Small issues are easier to address before water and debris work beneath the film.
The right tint should make every hour aboard feel more comfortable while protecting the interior you have invested in. Choose a film that suits your window material, boating conditions, and visibility needs, then let skilled installation deliver the flawless finish your vessel deserves.